For my birthday this year I treated myself to a new blog title (which means having to create a new blog.) I needed a title that better fits me and what I post, so here it goes! Come visit me at Right-Brained Mama and forget-about-it as far as this one goes. Anything currently posted here (and anything new, for that matter) can now be found at the new headquarters. See you laters, alligators…
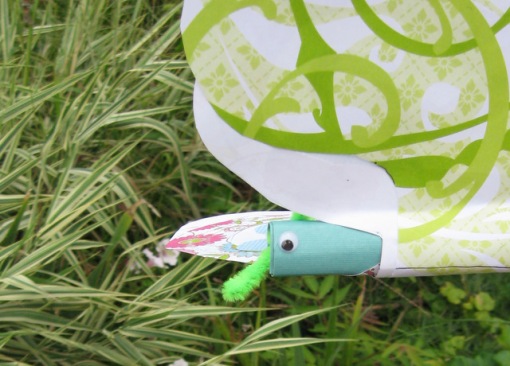
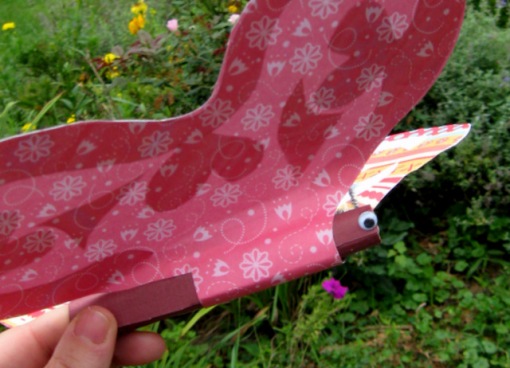
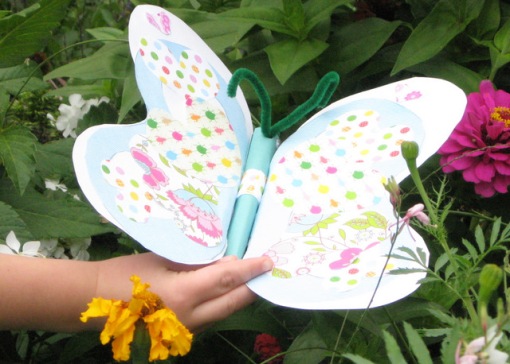 Been a while since I posted a craft, eh? This butterfly is a project the girls and I cooked up on a cloudy August Sunday morning. As usual, we took the kitchen over completely with paper and glue and scissors. Made a huge mess. Made a handful of giant butterflies. Picked up our huge mess. And then we played with our new toys. I figure soon I’ll string them so that we can spin with them to make them fly, but if you make the body tube large enough, you can poke your finger into the butterfly’s rear (eek!) and with big soaring flaps of your arms make the butterfly flap too. That’s pretty much fun.
This project is simple and easily adaptable to your own tastes. You’ll need scissors, glue, several sheets of paper (we wanted BIG butterflies so we used 12″ x 12″ scrapbook stock), a whole punch and something like a pipe cleaner for the antennae. Googly eyes and glitter are optional but they sure add to the fun.
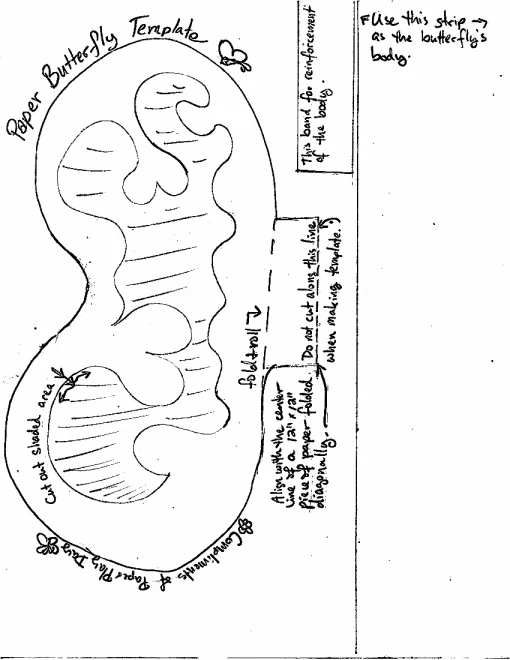
First off, the file you will need for the template (prints to an 8.5″ x 11″ paper):
________________________________________________________________
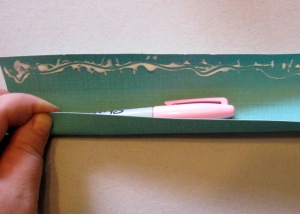 1. Cut a long strip of substantial paper (like cardstock), roll into a tube and glue the heck out of it. This will be the butterfly’s body. I use a sharpie marker as the “form” for the tube.
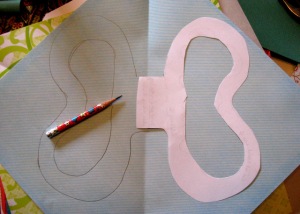 2. Cut out your wing template. You may or may not choose to cut out a center panel on the template. The template is sized so that you can align it on a bisecting diagonal of a 12″ x 12″ piece of scrabook paper. Trace the template, flip the template and trace again on the same sheet of paper, lining up the “tabs” of the wings to make a matched pair. Cut out your butterfly shape, being careful not to cut it in half…you want a continuous bridging piece connecting the wing shapes. This makes the wing surface seen on the top of the butterfly.
3. Repeat this process on another sheet of 12″x 12″ paper, however, DO NOT cut out a center panel design on the wings. Another option would be to use a piece of tissue paper or giftwrap (I’m thinking of something rather translucent) for this side of the wings. This makes the wing surface seen on the belly side of the butterfly.
4. Align the two wing pieces back to back (white side to white side) and carefully glue together.
5. While the wings dry, you can decorate them with bits and pieces of this and that. We decorated only the top surface of the wings because in nature, it’s the top side of a butterfly’s wings that are the most brilliant.
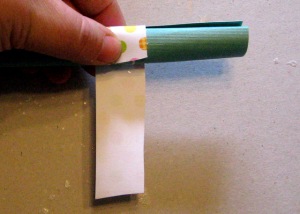 6. Wrap a pretty strip of paper around the body tube ~1″ from a tube end to re-inforce it.
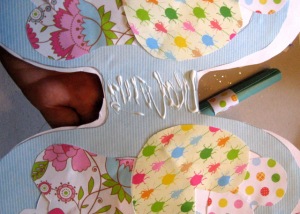 7. Spread gobs and gobs of glue on the bridging portion of the top side of the wings.
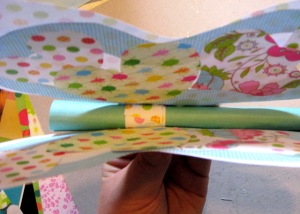 8. Place the body tube, reinforced end against the wing bridge and squeeze the wing bridge around the tube. Hold in place or clamp for seemingly forever until the glue sets.
9. Gently fold the wings at an angle to the body.
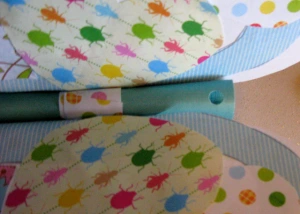 10. Take a hole punch and punch a hole on the top side of the body tube a centimeter or so from the tube’s end….this will be for the antennae.
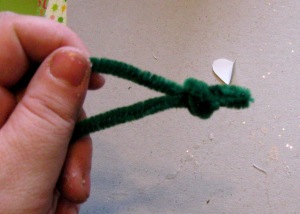 11. Find a pipe cleaner and knot it about itself, leaving a few centimeters of pointy folded pipe cleaner at the center. The result sort-of looks like a proboscis.
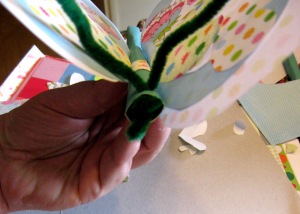 12. Slide the pipe cleaner ends into the tube and thread through the hole, catching the knot inside the tube. Curl your antennae if desired. Add googly eys for the extra finishing touch. Voila!
Our butterflies are fun!
Wee little animation for a friend on the ArtRage forums…
- August 19, 2009 – 7:14 pm
- Posted in Icons and Avatars
- Tagged foot avatar, Mairzie, shoes animated gif
- Leave a Comment

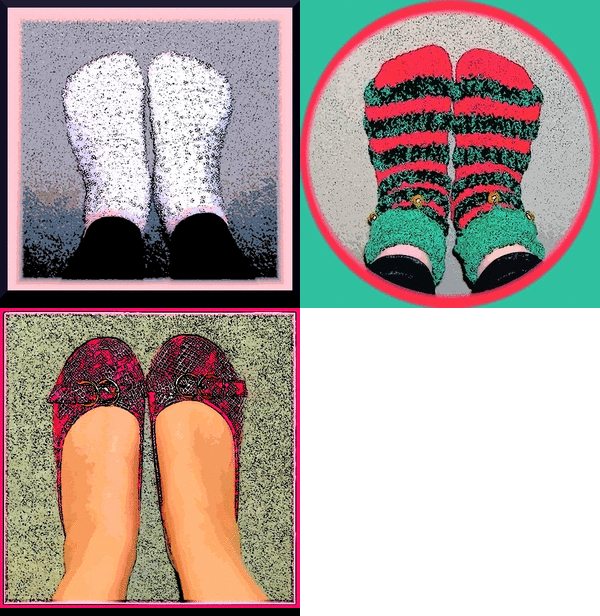
Mairzie, for you! (The little one is 80 x 80
and the larger is 300 x 300.)
 I think he was originally a Dover Clipart Sample. Looks like a nice guy but I bet his breath is terrible.
ArtRage 2.5 and Picasion, of course.
Got to clear these off my desktop. My blog’s going to look like something very threatening with all these blinkin’ blinking icons. Made with ArtRage 2.5 and Picasion. If you see something you like and all the blinking doesn’t alter your state of consciousness, rt click to download to your computer and then upload to whatever web community you prefer to haunt.
Swirly vine from here: http://debh945.deviantart.com/art/Fancy-Swirl-Shapes-131825788




Edited to add: Oh look! Weeks after posting these, they’ve stopped blinking! Wonder why? If you download to your computer, they should blink again. -LSW
